How to Grow Greens (Keerai)
General Info
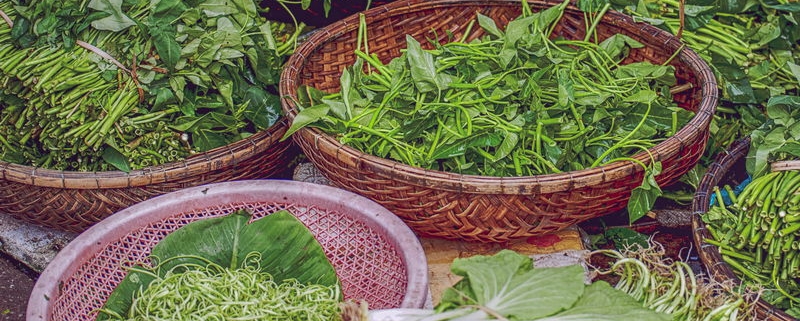
Greens are any variety of crop whose leaves you harvest to eat. In Tamil Nadu, we call these ‘keerais‘ and they can range from herb type plants like spinach and amaranth, to the leaves of shrubs and trees like Agathi and Moringa (drumstick) as well as salad greens like lettuce or radish leaves.
Almost all varieties of herb-type keerai that we consume have a similar growing method.
Climate & Humidity
While the optimum growing temperature for greens is between 15 and 18 degree Celsius, keerai seeds will germinate in temperatures as high as 29 degree Celsius. However, they tend to bolt, going to seed, in hot weather. Therefore, it is best to plant it in partially shaded conditions in cities like Chennai with hotter climate. Once the plants set seed, the flavour is lost and the plants need to be replaced.
Planting / Sowing
When to plant / sow seeds (ideal season):
Greens are typically annual crops that can be grown any time of year, though planting is usually avoided during the rainy season. If they are grown in the rainy season they need to be protected from the rain. High heat tends to decrease the flavour and quality of the leaves, so plan your planting so that harvests do not take place at the peak of summer.
Ideal sowing season: Jan – Mar; Jul – Sept;
For specific sowing seasons, please click on any of the crop thumbnails on this page. Alternatively, please refer to the Planting Calendar, or look up the crop in the Crop Encyclopedia.
How to plant:
New crops are generally grown from seeds and take about two weeks to germinate and sprout.
Container Growing / Sprinkle Method:
Keerai that can be grown using this method include:
Red Spinach (Arai keerai)
Amaranthus dubius
Tropical Amaranth (Sirukeerai)
Amaranthus polygonoides
Foxtail Amaranth (Mullai / Thandu keerai)
Amaranthus caudatus
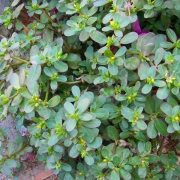
Common Purslane (Paruppu keerai)
Portulaca oleracea
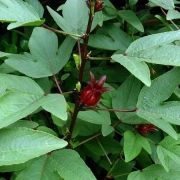
Roselle (Pulicha keerai, Gongura)
Hibiscus sabdariffa
First add the soil/ potting mix to the grow bag, till the soil to lift and loosen it and gently level the soil mixture. Tilling to loosen the soil is good for planting greens as the seedlings have fine roots which need to easily spread and grow in the soil. Sprinkle water over the soil bed. Then, take a small quantity of seeds, mix it with soil and sprinkle this over the soil bed, so as to cover the entire area uniformly. Sprinkle vermicompost to cover the seeds. A handful of vermicompost can also be sprinkled over the base of the plants once in 15 days.
For Gongura, since the seeds are big in size, compared to most keerai seeds sown by the sprinkling method, sow 2 seeds per grow bag/pot at a depth of 1”.
Greens like loose soil that is well tilled and fed with lots of organic material such as compost and manure periodically. Water the plants as and when required by feeling the soil to ensure it is not too dry or wet. In the early growth stages, sprinkling water is usually sufficient but make sure that while watering, the seeds do not wash out of one side of the container. Use of a watering can in circular motion can help. As the plant grows, you can water more.
Ground Growing Method:
A slightly different method is followed for growing the above greens in the ground. Plant seeds 1/2″ deep and 2″ apart in rows spaced at least 18″ apart. Sprinkle soil over the seeds and water well. Row markers may be used to indicate the different variety of greens planted. When seedlings sprout, use clean shears to thin plants to one every 8″ by cutting them off at their base. Water plants during extended dry periods to ensure that an adequate moisture level is maintained but ensure that you don’t over water.
Ridge / Furrow Method:
Keerai that need to be grown using this method include:
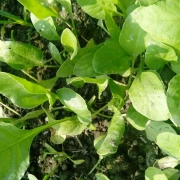
Spinach (Palak keerai)
Spinacia oleracea
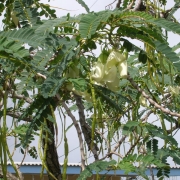
Hummingbird Tree (Agathi keerai)
Agati grandiflora
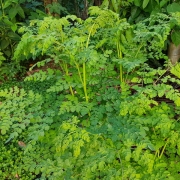
Drumstick (Murunga keerai)
Moringa oleifera
These types of keerai seeds need to be sown in ridges and furrows and not by sprinkling seeds. During rainy season, planting is done on ridges while during summer in furrows.
Palak keerai seeds are big in size – the size of pepper seeds. It is ideal to sow 15 to 20 seeds per grow bag/ or row on the ground with 1 seed per 1” hole.
For Agathi keerai, it is recommended to sow 1 seed per pot/grow bag at a depth of 1”.
Murunga keerai – two seeds are sown 3 cm deep in each pit in the centre of a container / on the ground. Please refer to the detailed page on Moringa / Murungakai for additional information.
Stem Cuttings & Sapling Method:
Keerai to be grown through stem cuttings method:
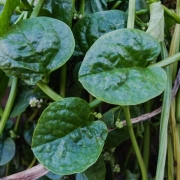
Malabar Spinach (Pasalai keerai)
Basella alba
Keerai to be grown through sapling method:
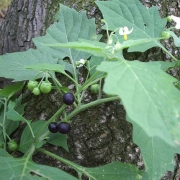
Black Nightshade (Manathakkali keerai)
Solanum nigrum
Keerai to be grown through sapling method:
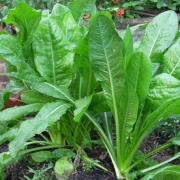
Chicory Leaves (Kasini keerai)
Cichorium intybus
Plant one sapling / cutting per grow bag or pot and harvest repeatedly by pruning stems.
NOTE: Irrigation should depend on how moist / wet the soil is. Check your plants everyday to see if they require irrigation or not. Check the Watering & Irrigation guide for more info.
Harvesting
When & How to harvest
Most varieties of keerai take about 40 to 70 days to mature from seed to harvest. Harvest the leaves you wish to eat from the outside of plants. If plants grow large enough to touch, harvest full heads by cutting at the base of the plant to make room. At any given time make sure that you do not prune more than 2/3rd of the plant.
For specific harvesting seasons, please click on any of the crop thumbnails on this page. Alternatively, please refer to the Planting Calendar, or look up the crop in the Crop Encyclopedia.
Pests & Diseases
Keep a constant lookout for pests such as aphids and cabbage worms, they must be removed and destroyed as quickly as possible.
NOTE: Read Pests & Diseases for more information.
REFERENCES
https://homeguides.sfgate.com/spinach-perennial-59097.html
https://www.diynetwork.com/how-to/outdoors/gardening/how-to-grow-greens
https://www.gardengatemagazine.com/articles/vegetables/edible-plant-guide/how-to-grow-your-own-greens/
https://veggieharvest.com/vegetables/spinach.html
https://veggieharvest.com/vegetables/spinach.html
Personal Conversation with Mrs. K. Parimala, Sempulam Sustainable Solutions Private Limited and Karthik, TANHODA

